
Understanding White Balance
Have you ever wondered why your pictures come out bright yellow when you are shooting indoors or in ambient lights?
The main reason for it is the White Balance. The White Balance determines the color temperature of your picture. At its simplest – the reason we adjust white balance is to get the colors in your images as accurate as possible.
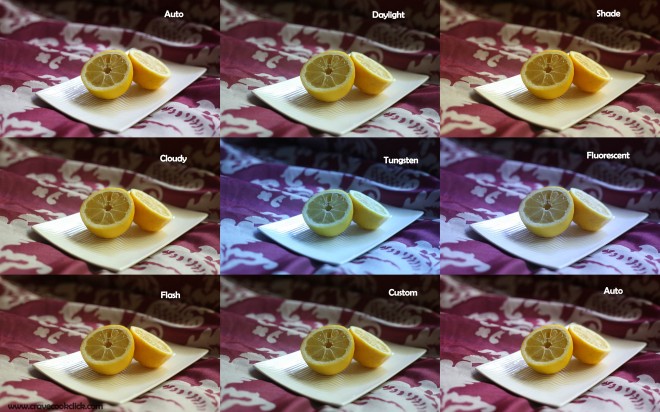
There are majorly 9 types of white balance:
1. Auto
Most cameras default to automatic white balance. They make white objects bright white and alter all the other colors to match. This produces the best result in average lighting, but often results in a very blue image on cloudy days, in shadow or in natural lighting conditions. Some photos taken with the auto white balance setting seem artificial or harsh.
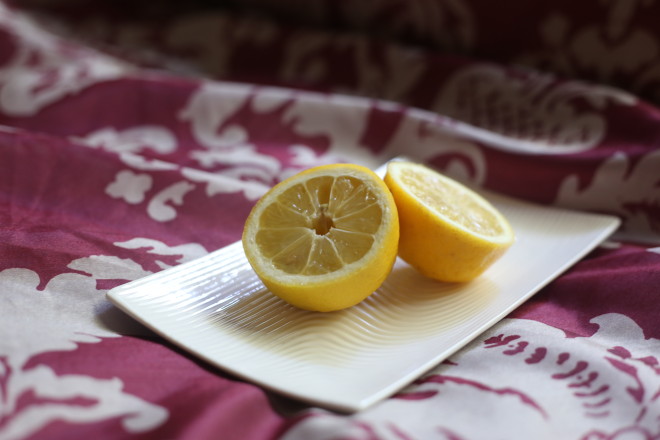
2. Daylight
Like indoor lighting, daylight tends to be very warm. Direct sunlight is also extremely bright, and can wash out subjects like a flash. Use daylight settings only when shooting in very bright sunlight, as it can produce blueish results on overcast days.
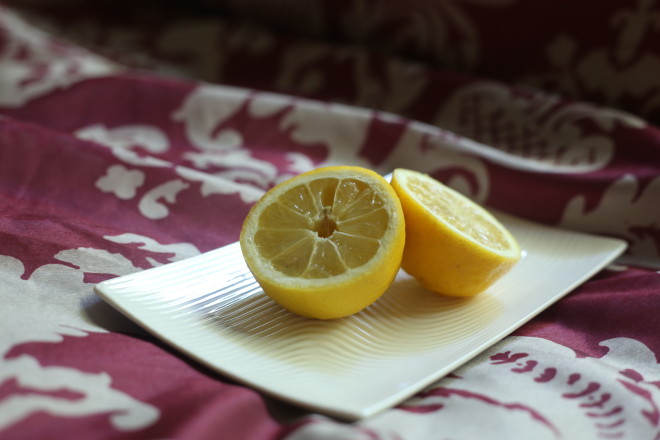
3. Shade
The light in shade is generally cooler (bluer) than shooting in direct sunlight so this mode will warm things up a little
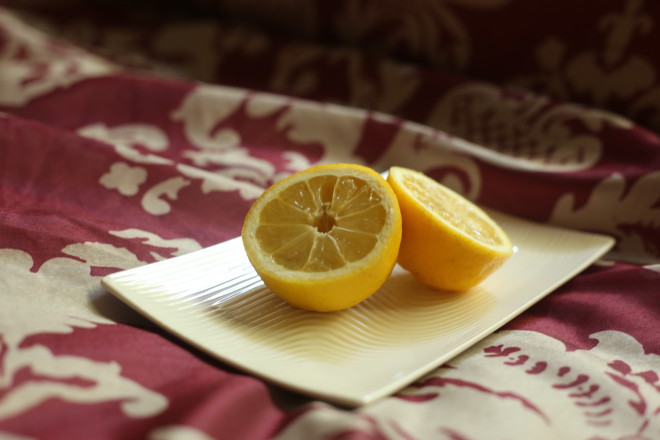
4. Cloudy
On a cloudy day, use the cloudy or shadow white balance setting instead of auto. This allows the camera to compensate for blueness in the shadows, warming up the scene to better match what the human eye would see. Cloudy and shadow settings provide a more welcoming look, especially in photos of humans and interiors.
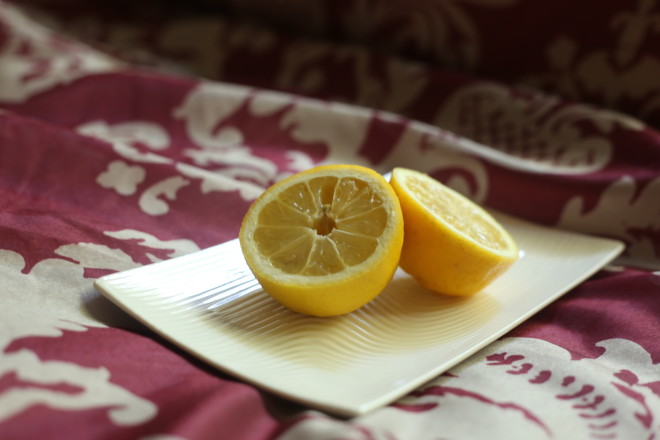
5. Tungsten Light
Incandescent indoor lighting and photographers’ lamps create a reddish or orange light. The result is an overly-warm tinge to the picture. The indoor setting, sometimes labeled “tungsten,” adds blue to the image, correcting subjects to a more accurate neutral tone.
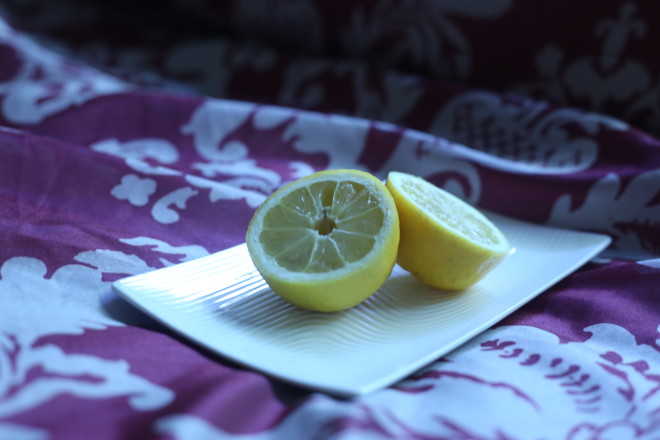
6. Fluorescent
Fluorescent indoor lighting has become more common with the advent of energy-saving compact fluorescent bulbs. Most offices and commercial spaces also use fluorescent lighting. Unlike incandescent bulbs, these lights produce a green or blue cast. Use the fluorescent setting to cancel out this tone, which can produce sickly-looking results on human skin.
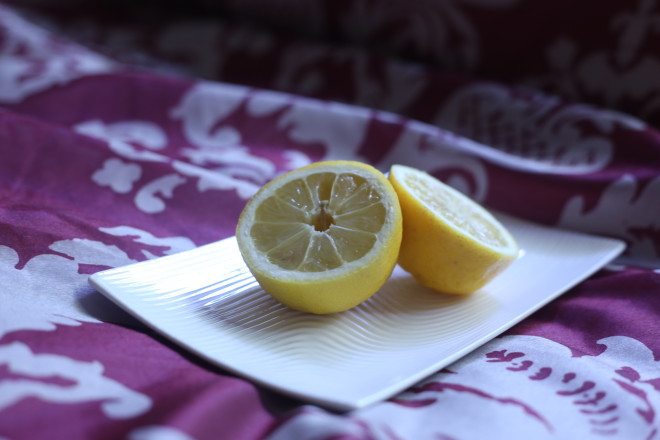
7. Flash
The on-camera flashes in most digital cameras produce a bright light with a blue cast. This can bleach the color from human skin or cancel out red tones, leaving subjects looking pale or sickly. Use the flash white balance setting to add red to the scene and produce a more natural image.
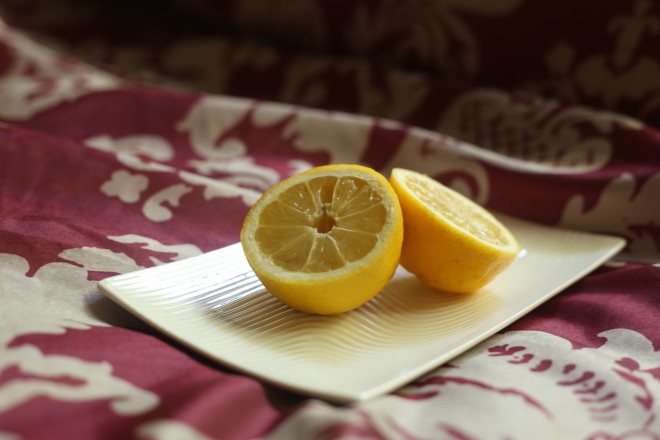
8. Custom
Custom white balance allows you to take a picture of a known gray reference under the same lighting, and then set that as the white balance for future photos. This is manual process and there different ways to set it depending upon your camera manufacturer i.e. Nikon/Canon/Sony etc. You can find videos online to set the same.
9. Kelvin Mode
In many high end DSLR’s which are generally full frames you can adjust the white balance using Kelvin White Balance (K)
The K setting in your white balance settings is arguably the most important white balance setting to understand, as you’ll have a hard time using Gels and correcting mixed lighting without understanding kelvins. Try scrolling over the “K” setting, as you see in the image on the left, and scrolling all the way down to 2500K. If you take a picture, your image is likely blueish (the degree of blue depending on your current lighting situation). Now scroll to the opposite end to the 10,000K and take a picture. Your image is likely orange. In the simplest terms, the more you increase the K, the more orange the image becomes; and the more you decrease the K, the more blue the image becomes. The advantage of using the K option, as opposed to the other icons, is that you can check your images and adjust accordingly, instead of settling for a preset.


